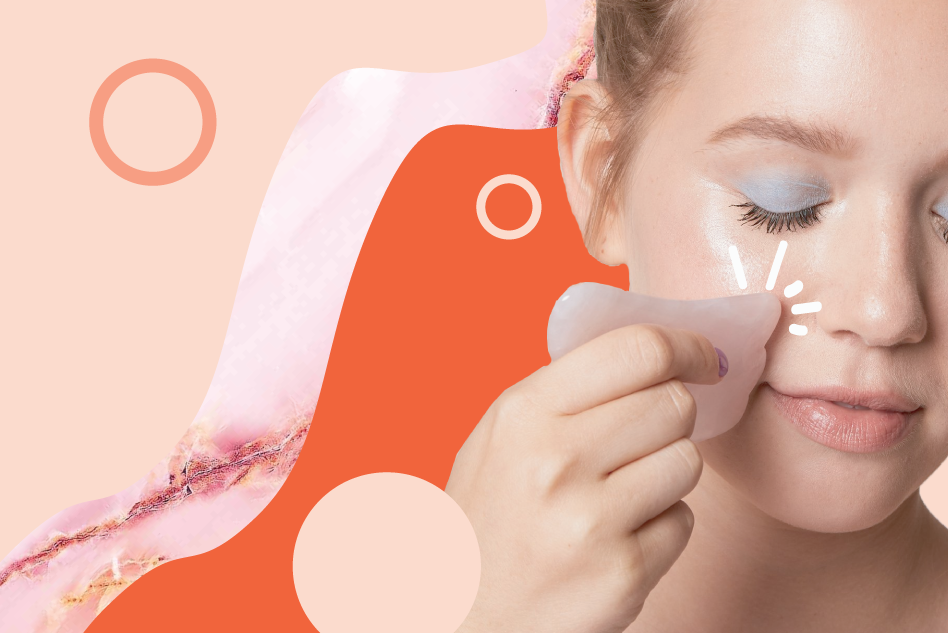
Nothing, and I really do mean nothing, relaxes me like my Gua Sha. This stone tool is small, slim, and feels just as good, if not better, than its cousin the crystal roller. Just a few minutes with this little gadget and the tension in my face melts away, relieving the clench in my jaw, the furrow in my brow, the pressure in my sinuses, and so much of that dreaded inflammation both on my skin and under my skin. It’s as close as I’ve come to a handheld mini spa facial.
“Gua Sha,” which directly translates to “scraping” in Chinese, is an ancient East Asian healing practice in which a practitioner takes a flat tool and, using a generous amount of pressure, pulls it across the skin to increase blood flow. It was originally intended to break up stagnant energy, called chi, and promote internal healing. Now, Gua Sha is used to help drain the lymphatic system, ease muscle tension, and help with symptoms of chronic pain, many of which are tied to inflammation.
These Gua Sha tools, or “boards,” used to be made from bones to porcelain, but the most popular versions (and the most beautiful, in my opinion) are made from crystals like rose quartz and jade. However, unlike the crystal roller you may have just purchased, the Gua Sha is different. It’s actually has a much stronger effect due to the nature of the technique and the different angles on the tool that can be used to focus on very specific sections of skin and muscle. This can result in blotchy red scrapes, scratches, and even bruises. Don’t freak out though! We’re talking about the facial version of Gua Sha here which is far more gentle compared to the full-body version, and promotes a host of other benefits like de-puffing, lifting, and adding some serious glow. However, gua sha isn’t suitable for skin that’s already inflamed (read: sunburn, rosacea, rashes, cuts) or if you have problems with blood coagulation as even the facial version can still be quite intense on your face, especially on thin and sensitive areas like under the eyes.
So if you think Gua Sha is for you, picking a tool is just where the fun begins. There are so many options, so I understand if it seems daunting, but you really can’t go wrong. You might ask, “What about all the different sides? What about the material?” That’s the great thing about Gua Sha, it’s all about what feels best for you! Most of these choices just come down to personal preference. Best tips? You’ll want to have at least two different angles on your tool so you can really target areas like the jawline and in between the brows (if you like). A small curved edge and a V-shaped corner are great additions to the primary long edge. As for the material, pick whatever you are drawn to. Crystals are known for their healing powers, with amethyst encouraging clarity and relaxation, jade promoting insight, peace, and luck, and rose quartz carrying love and harmony. You can choose one based on what type of energy you’d like to focus on or simply what color you like best (no shame in that game!).
The best part about facial Gua Sha, though? Unlike a full-body gua sha massage, you don’t even need a practitioner to do it for you! Once you figure out the basics, you’re good to go on your own. Now, this is where we come in.
How To Gua Sha
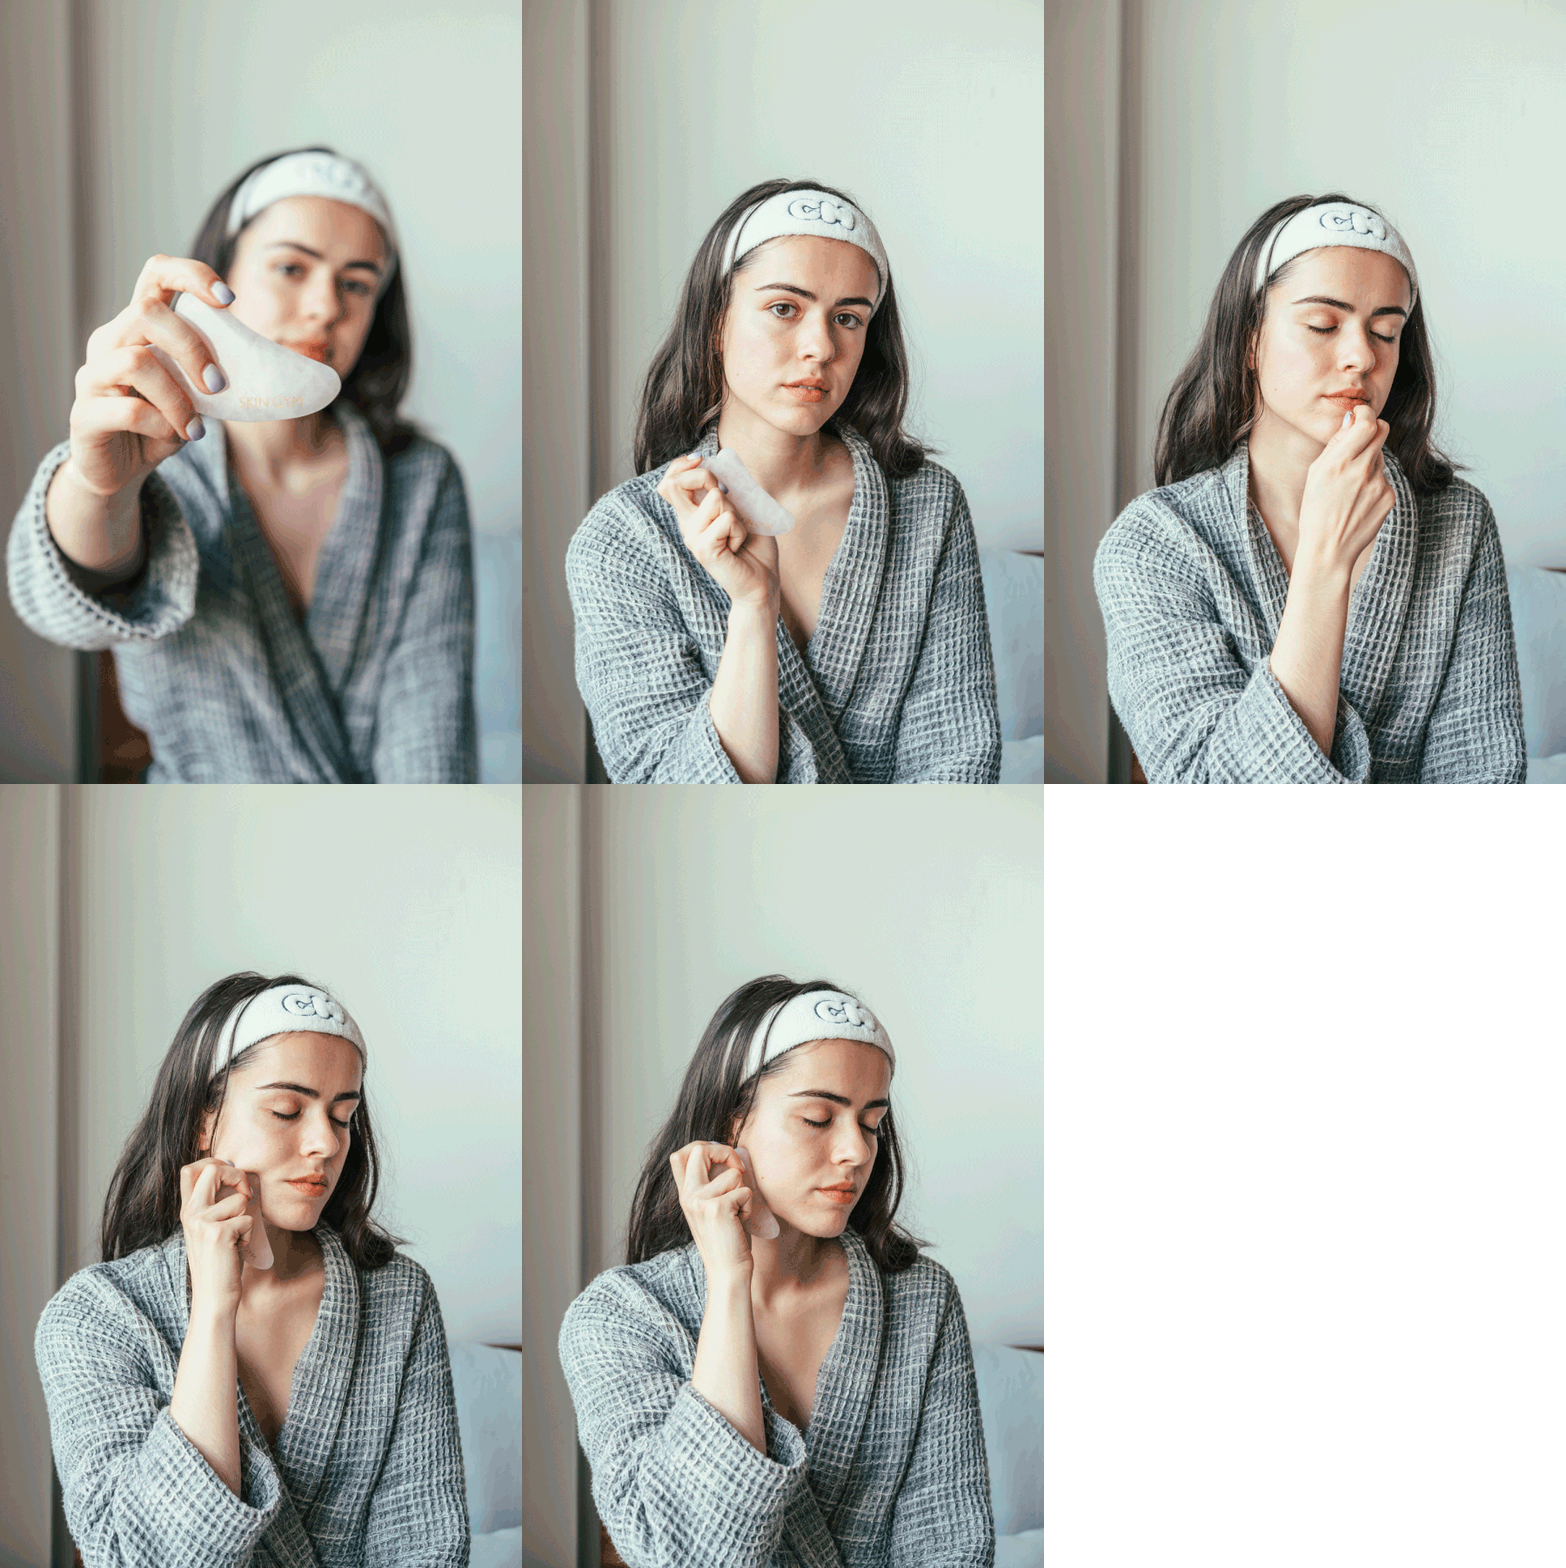
At last, you’ve received your shiny new tool (read: toy) and you’re ready to go! Here are the beginner steps:
1. Prime your skin with a bit of lubricant to ease friction. Moisturizer, serum, or essence will do just the trick. (Not a critical step, but definitely feels great.)
2. Starting at the base of your neck, take the flat side of the tool and move upwards towards your chin applying reasonable pressure. You don’t want the tool to be too blunt (as if you’re going in for a slice), so hold it as flat as you can while still maintaining a solid grip. Repeat this on all sides of your neck three times*.
3. Move to the chin. From the base of your chin, take the same flat edge and sweep upwards towards your cheekbones. Repeat this step on each side of your face three times*. If you feel particularly tense in your jaw, you might want to focus on this area.
4. Switching to one of the smaller angles on your Gua Sha tool (there are usually a few, you can choose the most comfortable for your face shape), begin on the side of your nose and sweep outwards over the cheekbones towards the temples. (Remember the lymphatic drainage from using the amethyst roller in this section? That’s pretty much what we’re going for here). Repeat on each side three times*. End with a few swipes up the nose towards the forehead.
And voila! Tension? Pressure? Stress? Where?
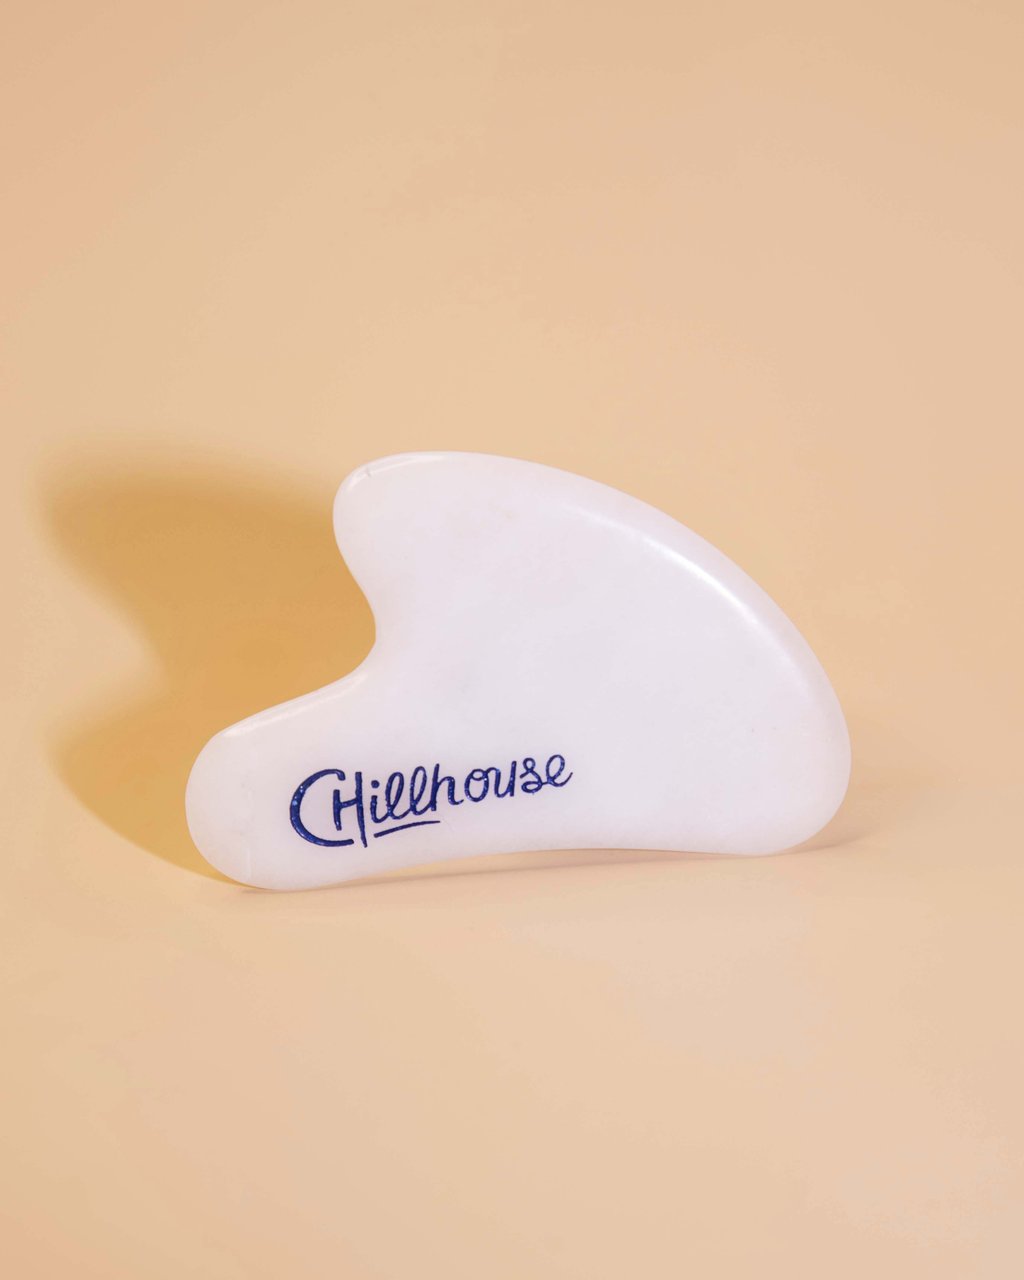
White Jade Gua Sha
*Three swipes are recommended to beginners, but you can work your way up to a higher number of strokes as you get better acquainted with both the practice and your body’s needs. Just don’t exceed more than 10 as that’s when bruising can occur.
Have a Chill Day Face Oil
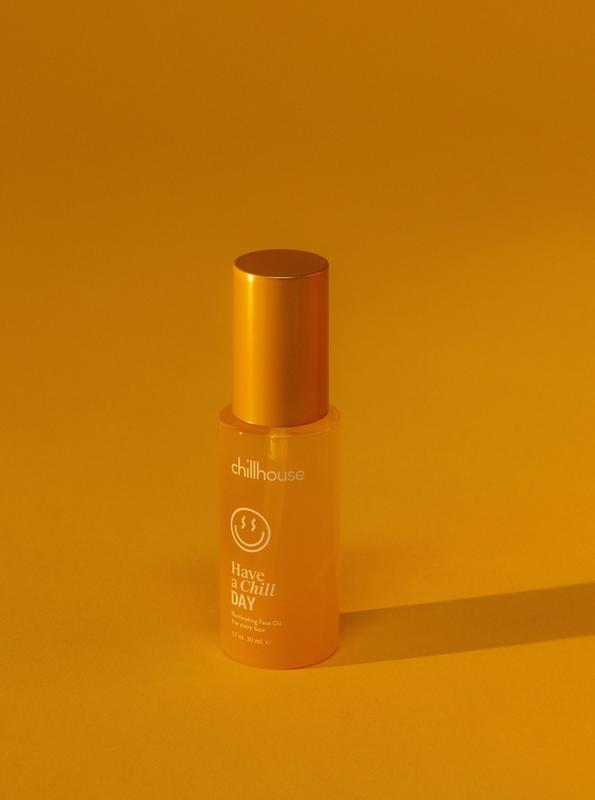 Have a Chill Day Face Oil by ChillhouseNeed This Now| $48
Have a Chill Night Face Oil
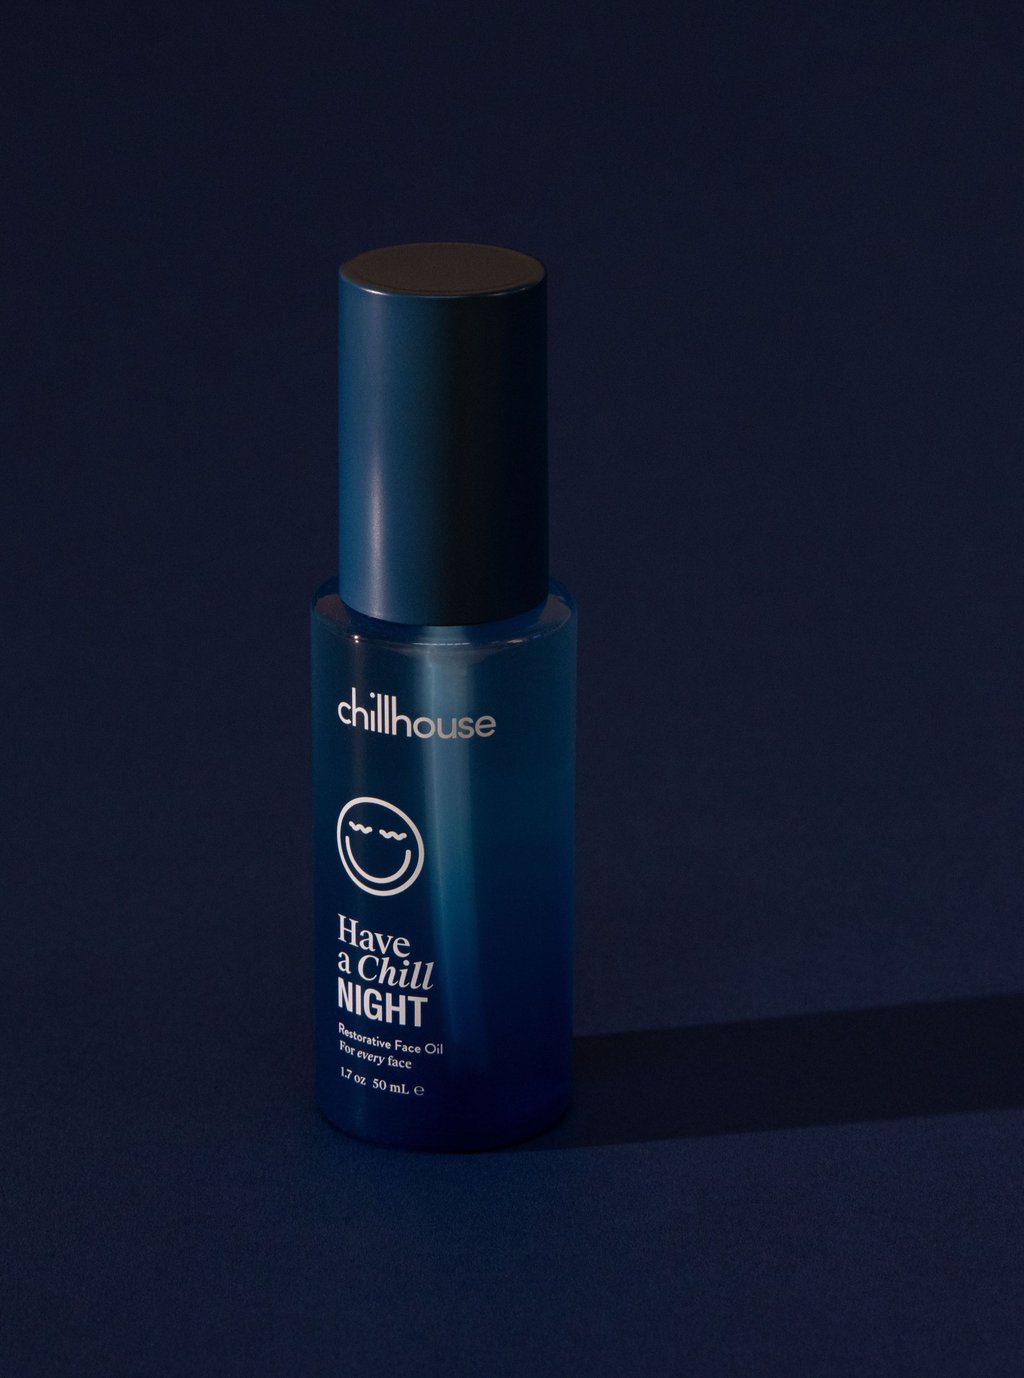 Have a Chill Night Face Oil by ChillhouseNeed This Now| $48
Have a Chill Day + Night Face Duo
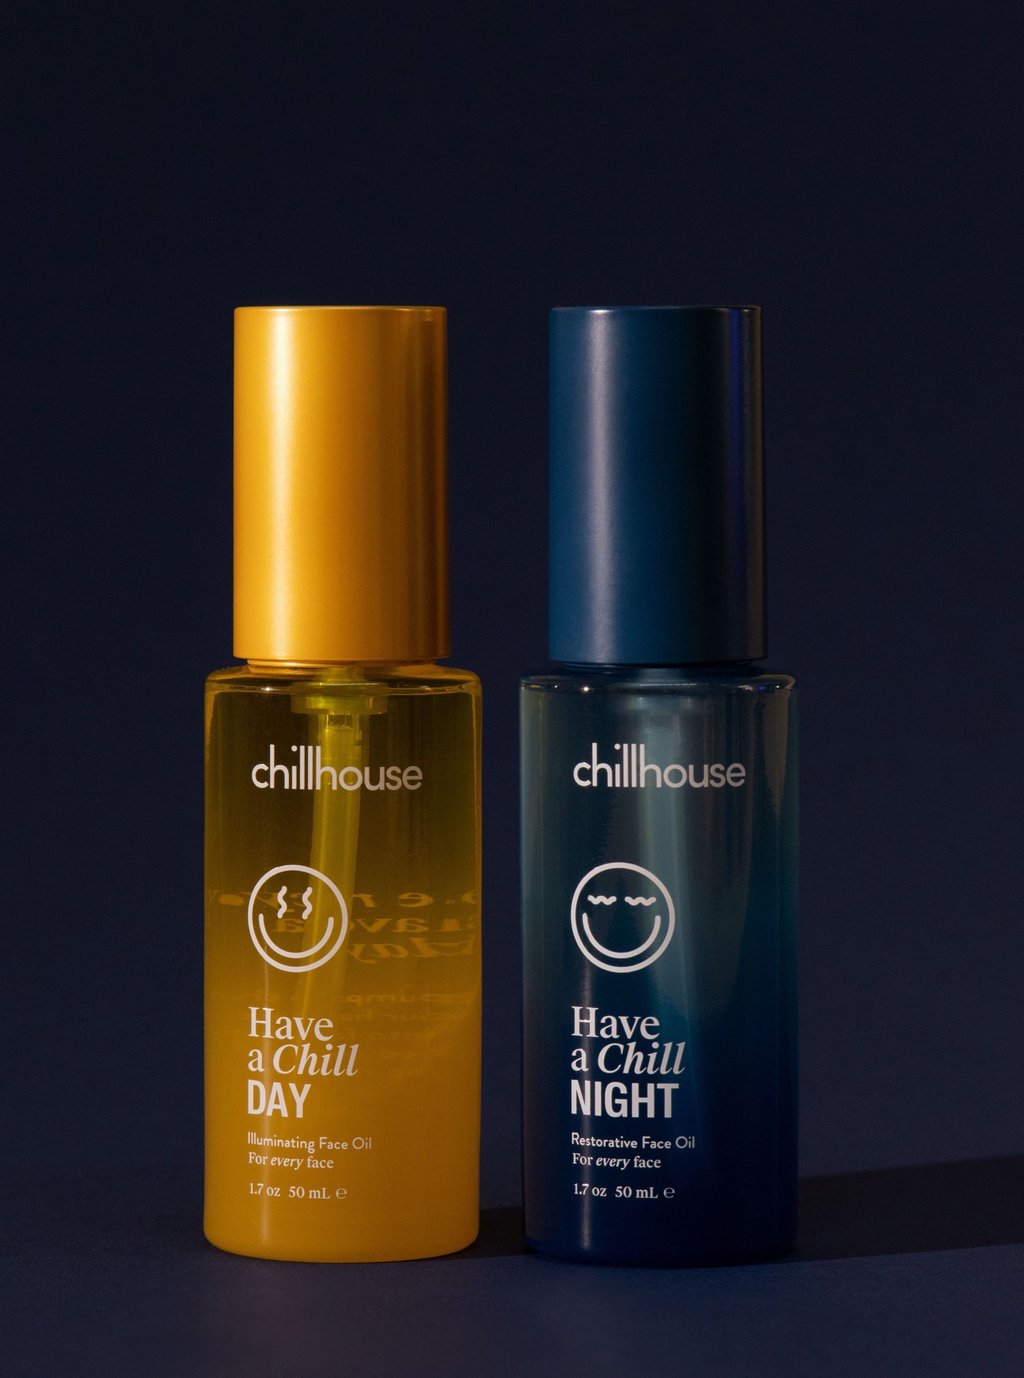 Have a Chill Day + Night Face Duo by ChillhouseNeed This Now| $88
—
Feature image via Chillhouse; graphic via Ella Xu

